Nintendo 64 Part 7: Drawing Sprites
We are going to draw some sprites on the screen in our Nintendo 64 game, and animate them.
Image Conversion
Your images are probably in some sensible image format, like PNG or JPEG. You could just place your PNG and JPEG files into your game, and that might even make sense, but it’s a lot of work. Instead, we’re going to decode the image in our build process and embed the RGB data in the ROM image, formatted correctly for the Nintendo 64.
The image conversion is pretty trivial, and there are plenty of examples of image converters specifically for the Nintendo 64 online.
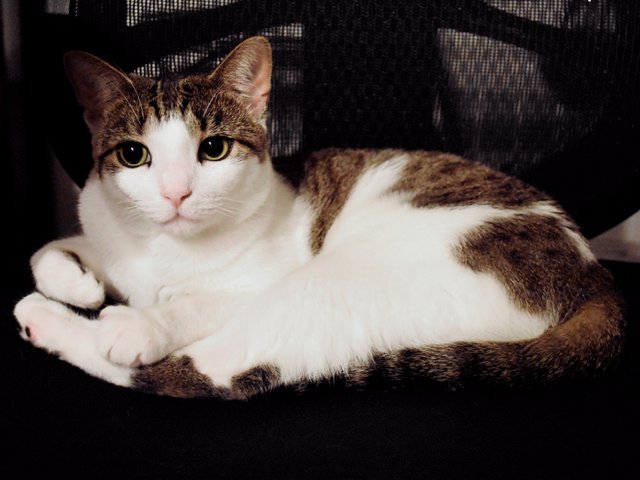
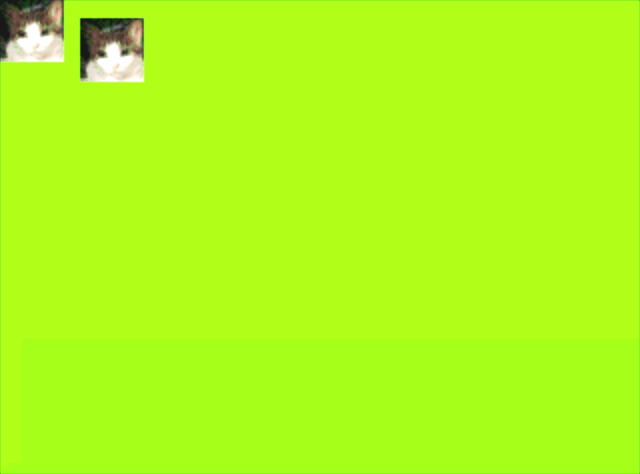
Here is my sample image, a picture I took of our roommate, Ariella. The image has been resized to 320x240 to match the Nintendo 64 framebuffer size that I am using (low-resolution, NTSC).
Adding Data to the ROM
I can think of three ways to add data to the ROM image:
- Convert the image to C code, and then compile it. This is used by the example programs that come with the SDK.
- Convert the image data to an object file, and link it into the binary.
- Create a base ROM image that knows where it ends (i.e. has a symbol
like
romEndwhich points to the end of the ROM), and then add data to it by concatenating data to the end.
For now, I’ll convert image data to object files and link them in.
This can be done with objcopy.
$ mips32-elf-objcopy \
  --input-target=binary --output-target=elf32-bigmips \
  input_file.dat output_file.o
This will create an object file with the following symbols:
_binary_input_file_start: Address where the data starts._binary_input_file_end: Address where the data ends._binary_input_file_size: Size of the data.
Note that the size symbol is itself the size of
the data, it is not a variable containing the data.
C interprets a symbol as an address, so you have to take the address
and cast it to an integer. Here are a couple ways you can do that:
// Method one.
extern u8 _binary_input_file_size;
uintptr_t size = (uintptr_t)&_binary_input_file_size;

// Method two.
extern u8 _binary_input_file_size[];
uintptr_t size = (uintptr_t)_binary_input_file_size;
Note the --output-target format in the invocation of
objcopy, which I figured out by casting
stones on a divination board. Since the object file contains only data and
no code, you don’t need a more specific architecture.
Drawing With the CPU
Let’s start by drawing with the CPU, so we know that there aren’t problems with our image conversion. We create a 32x32 pixel version of our image and copy it to the framebuffer, after the RDP is done:
// Copy a version of the txture with the CPU for reference.
u16 *restrict pixels = (u16 *)IMAGE;
for (int y = 0; y < 32; y++) {
  for (int x = 0; x < 32; x++) {
    framebuffers[which_framebuffer][y * SCREEN_WIDTH + x] =
        pixels[y * 32 + x];
  }
}
osWritebackDCacheAll();
This works.
Drawing with the RDP
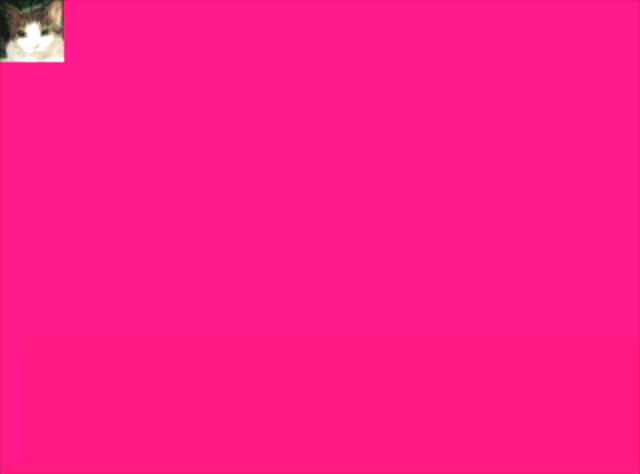
We make another display list, this time to copy our texture into the framebuffer.
static Gfx sprite_dl[] = {
    gsDPPipeSync(),
    gsDPSetTexturePersp(G_TP_NONE),
    gsDPSetCycleType(G_CYC_COPY),
    gsDPSetRenderMode(G_RM_NOOP, G_RM_NOOP2),
    gsSPClearGeometryMode(G_SHADE | G_SHADING_SMOOTH),
    gsSPTexture(0x2000, 0x2000, 0, G_TX_RENDERTILE, G_ON),
    gsDPSetCombineMode(G_CC_DECALRGB, G_CC_DECALRGB),
    gsDPSetTexturePersp(G_TP_NONE),
    gsDPSetTextureFilter(G_TF_POINT),
    gsDPLoadTextureBlock(IMAGE, G_IM_FMT_RGBA, G_IM_SIZ_16b, 32, 32,
                         0, G_TX_NOMIRROR, G_TX_NOMIRROR, 0, 0,
                         G_TX_NOLOD, G_TX_NOLOD),
    gsSPTextureRectangle(40 << 2, 10 << 2, (40 + 32 - 1) << 2,
                         (10 + 32 - 1) << 2, 0, 0, 0, 4 << 10,
                         1 << 10),
    gsDPPipeSync(),
    gsSPEndDisplayList(),
};
I definitely don’t understand which parts of this are necessary and which parts I just stuck into the display list in an effort to fix my code, but it works now. This is less of a science and more magical thinking and guesswork. Here’s what I do know:
- You generally want to
gsDPPipeSync()before changing things that affects rasterization, because any changes you make can affect the previous primitives if they haven’t finished drawing. - The
G_CYC_COPYmode is for quickly copying pixels to the screen, 1:1. It is somewhat limited, but it can copy four pixels per cycle. - The docs say that
G_RM_NOOP, G_RM_NOOP2is a “safe” rendering mode in copy mode, but I don’t know what “safe” means. gsSPTextureRectanglehas a parameter nameddsdxand another nameddtdy. These are fixed-point numbers which control how much the texture coordinates advance each time the RDP processes pixels. However,dsdxseems to imply that the texture coordinates advance each pixel, when in fact,dsdxshould be 4 in copy mode because copy mode processes four pixels per cycle.
Well, it works. I can figure out what’s necessary later.
Testing on Hardware
Finally got the hardware out of storage. I have the EverDrive-64 X7 and a USB cable. How can I load this game onto the Nintendo 64 without fiddling with SD cards? UNFLoader is the answer.
Start by connecting the EverDrive to the computer and turning on the Nintendo 64 system. You should see the ROM selection screen on the TV.
Note: Lots of
sudo.
$ sudo rmmod ftdi_sio
$ sudo rmmod usbserial
$ mkdir libftd2xx
$ tar xf libftd2xx-x86_64-1.4.8.gz -C libftd2xx
$ cd libftd2xx/release/build
$ sudo install libftd2xx.{a,so*} /usr/local/lib
$ sudo ln -s /usr/local/lib/libftd2xx.{so.1.4.8,so}
$ cd path/to/N64-UNFLoader/UNFLoader
$ make
$ sudo ./UNFLoader -r path/to/rom.n64
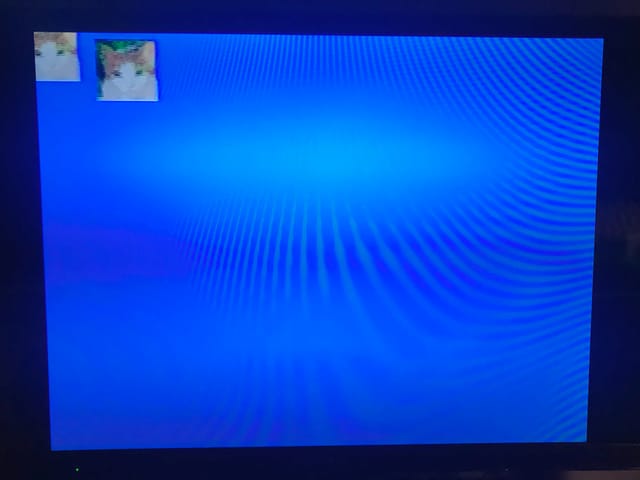
In a matter of seconds, the program appears on TV!
